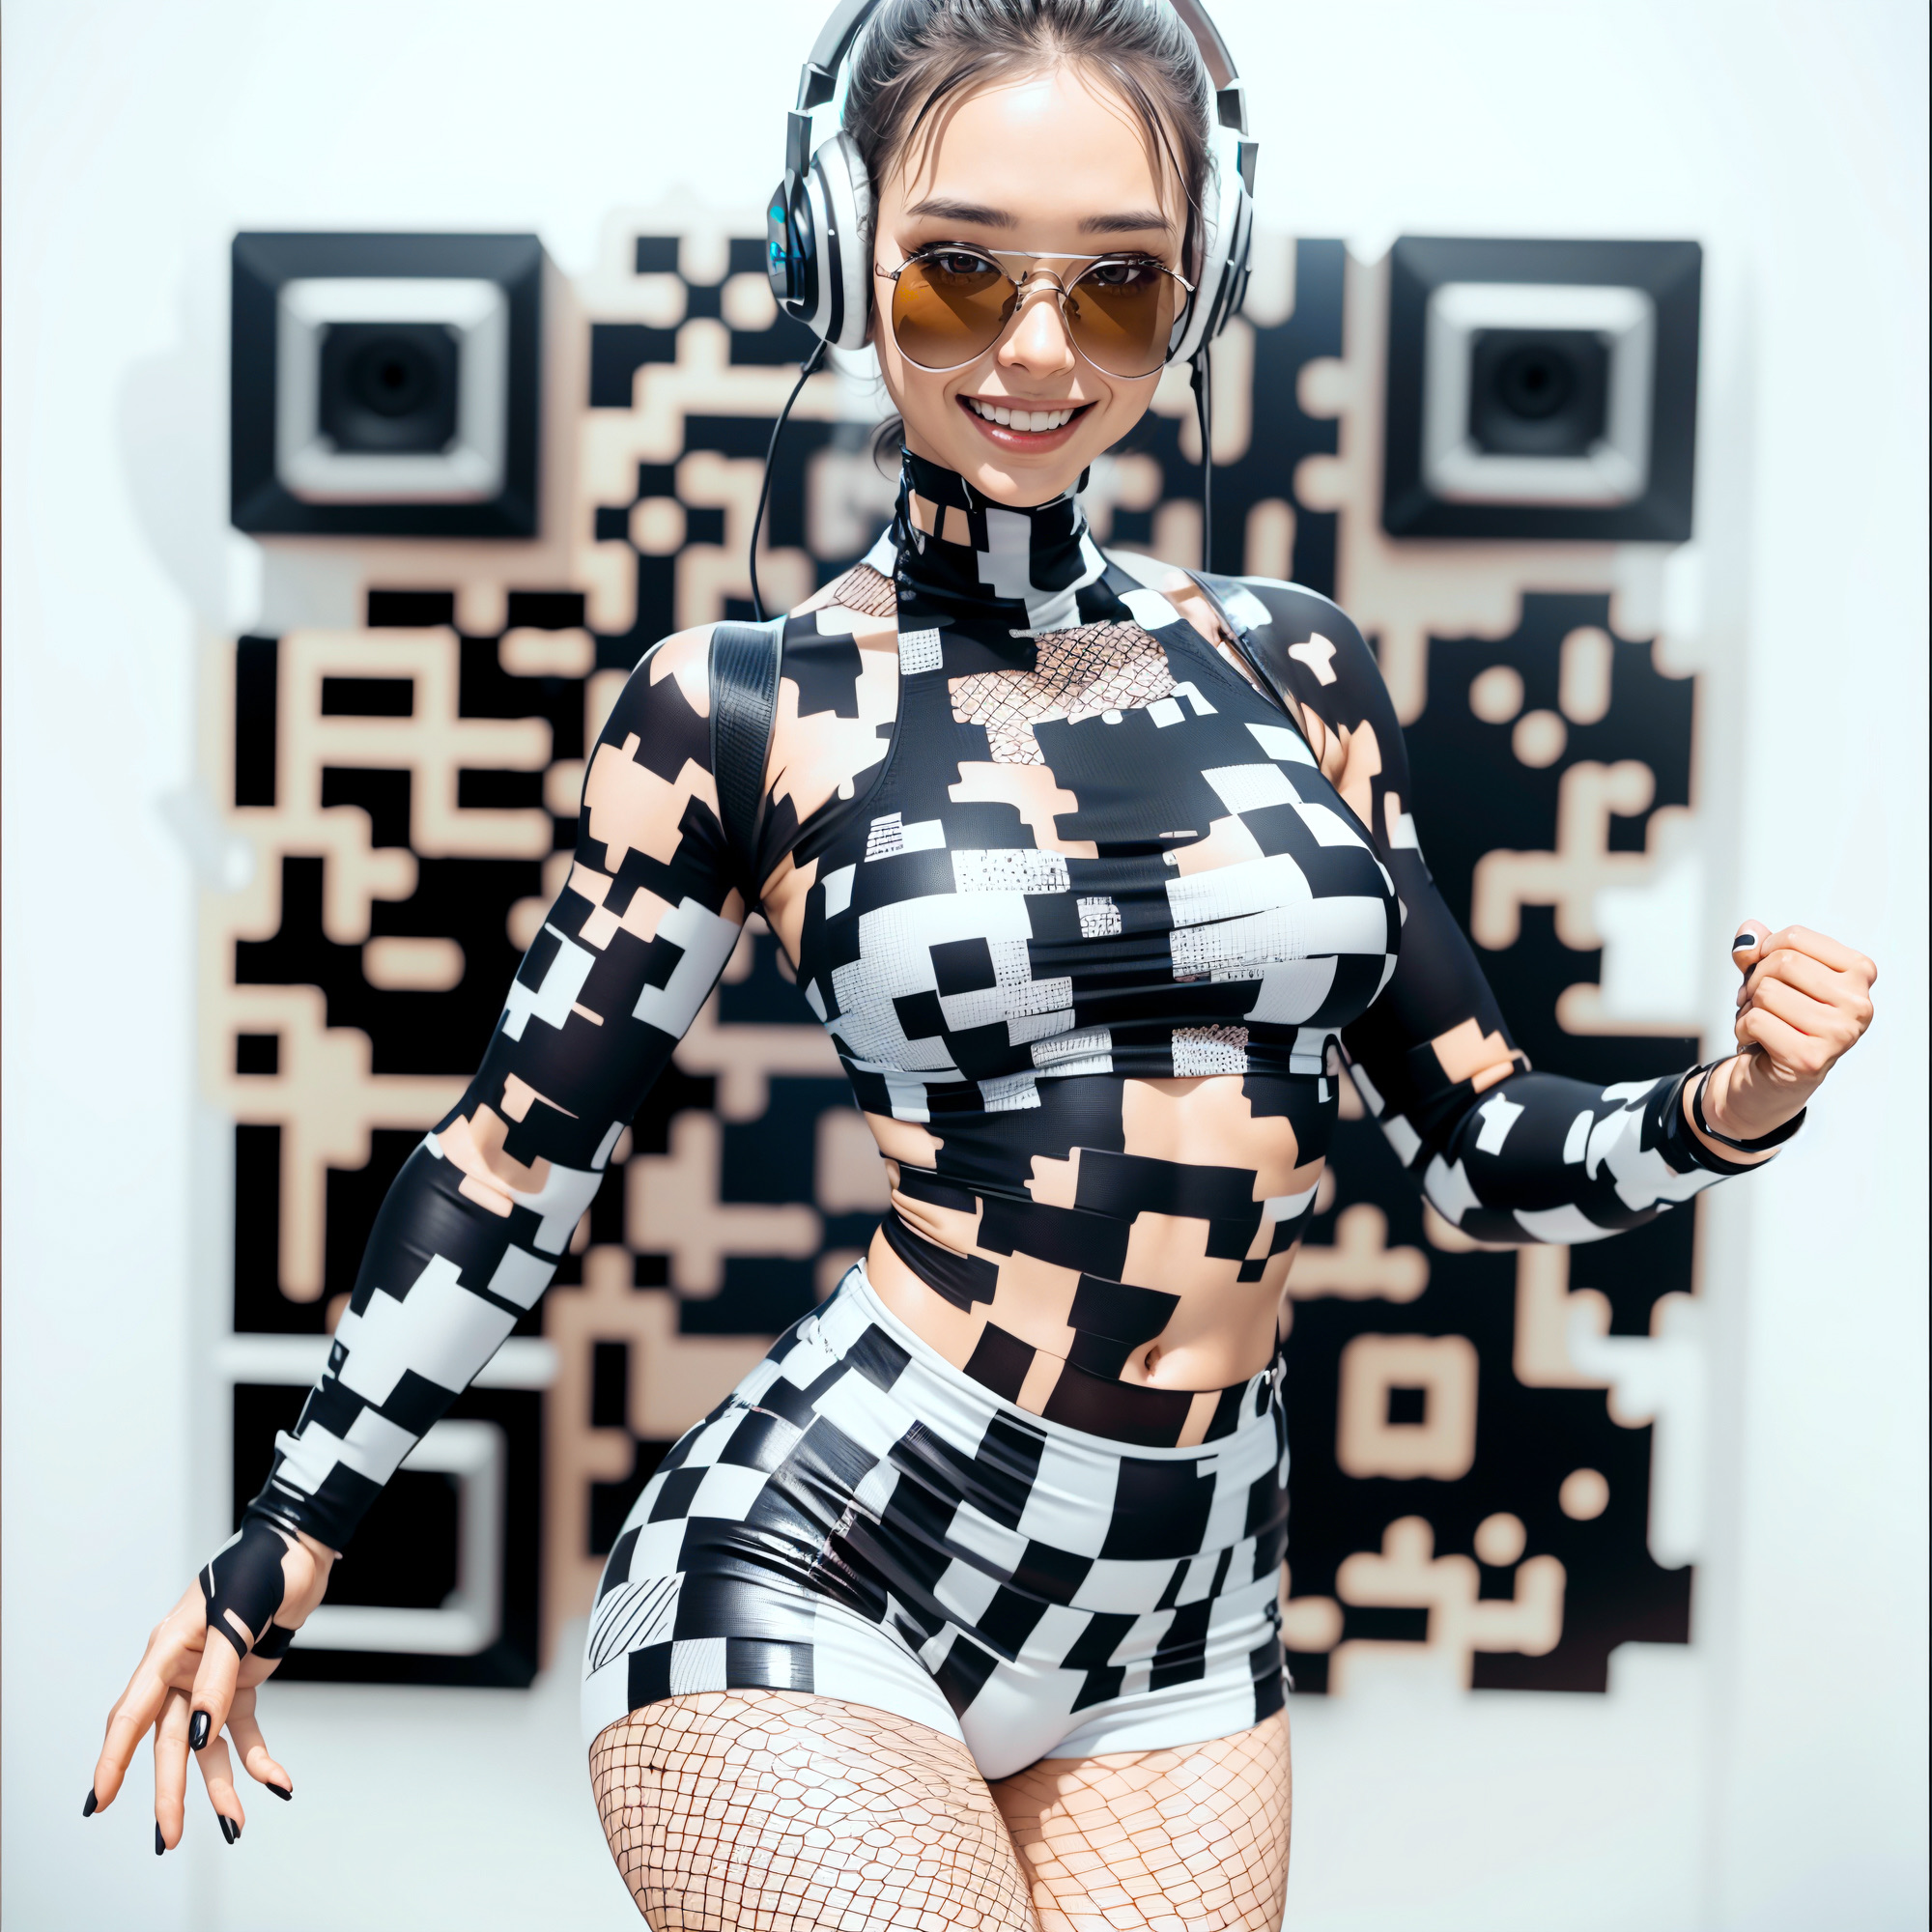
Creating a Stable Diffusion AI QR Code: A Guide
- note : below I have my writeup – and the key parts are that I’m explaining a bit of the logic on how to understand what parameters do. this is important as you cannot just set parameters universally. EVERY.SINGLE.IMAGE. is different (hence why you want to use original image in controlnet).
- if you want a much more thorough writeup. – including samples and prompts and settings for a specific image – take a look at this tutorial @ https://qrdiffusion.com/tutorial/generate-qr-codes-with-ai
Step 1: Image Selection
Begin by sourcing or generating an image. A 768×768 pixel image is ideal, though not strictly necessary. Smaller sizes might be simpler but might compromise on QR code clarity.
Step 2: QR Code Generation
Choose a QR code and ensure it is in a 1×1 png format. A reliable source I’ve used is 34qr.com. Aim for High 30% fault tolerance to ensure the QR code remains scannable even after modifications. Note that simplicity is essential; avoid long, complex text strings. Short URLs tend to work best.
Step 3: SRC Image Modification
The next step involves taking your SRC image to img2img, accompanied by the prompts. Here are some basic settings you might find useful:
- Resize mode: Just resize
- Sampling method: DPM++2M Karras (or any other of your choice)
- Sampling steps: Aim for 25-70. Higher values allow a more intensive ‘burn’ of the QR code into the original image, though this also leads to greater image mixing.
- Dimensions: Set Width and Height to 768.
- CFG Scale: Choose a value between 7-15. A higher value will enhance the QR code’s clarity.
- Denoising strength: Aim for a range of 0.65-1.00. A higher value sharpens the QR code, though it might override the original image due to latent space dilution.
Tip: If possible, use the same seed for consistency, though this is optional.
Step 4: Controlnet Adjustments
In the controlnet:
- Add the SRC Image: (Optional). Include the SRC image in controlnet1. Standard default settings should suffice. This step guides img2img to render the same image source, but you can skip it if you wish.
- Add the QR Code: The QR code goes into the second controlnet. Note that the settings here require some fine-tuning based on the image you’re working with.Here are recommended settings:
- Enable: Checked
- Control Type: Tile
- Preprocessor: tile_resample
- Model: control_v11f1e_sd15_tile
- Control Weight: Choose a value between 0.6 – 1.5, based on how strongly you wish to ‘burn in’ the QR code. Balancing modes impact this:
- “Balanced mode” pushes the QR code to the background, creating a pleasant separation. 0.6-0.9 usually works well here.
- “Controlnet is more important” mode brings the QR code into the foreground, resulting in less separation but higher blend with clothes and textures. A value of 1.0 – 1.5 is typically suitable here.
- Starting Control Step: Choose a value around 0.15-0.25. This setting determines when the ‘burn in’ starts.
- Ending Control Step: Choose a value around 0.55-1. This setting determines when the ‘burn in’ stops and the QR code starts blending with your art.
- Control mode: Either option works here.
- “Controlnet more important” provides sharper contrast and brings the QR code into the foreground.
- “Balanced” pushes the QR code into the background and offers a wider range of control.
- “Prompt is more important” is suitable for high contrast, simple QR codes, although it necessitates a higher control weight to show through.
- Resize mode: Any should work, as long as it’s 1×1.
Key Considerations
Achieving a stable diffusion AI QR code requires striking a balance between the following five parameters:
- Denoising
- Ending Control step
- Starting Control step
- Control mode
- Control weight
Adjust these parameters until you achieve the desired ‘burn’ of the QR code into the image. While white backgrounds work excellently, you can use any color or even complex color schemes. Remember, it’s about adjusting the sliders and finding the optimal range for your specific case.
The choice of models is less significant – any model to render the image should be fine.
Testing and Validation
As you experiment, always test the final image for scannability on your phone. It’s easy to compromise on scannability during the tweaking process. Take it slow, adjust one parameter at a time, and if scannability is lost, revert the changes and continue adjusting. Patience and diligence are key to achieving the best results.
